
The shortest path to a live voucher storefront. Work through these steps and customers can start buying vouchers.
Before you start
To start using the Voucher system, please contact us. Once you have provided the necessary details, you will receive an email with instructions to set up your account at https://vouchers.appropo.io.
You will also need:
- Your voucher terms and conditions, GST (NZ) or ABN (AU) number, and registered company name.
- Your POS connection details, if you want to redeem vouchers in-store.
What is already done for you
Your voucher arrives with sensible defaults, including its name, the predefined amounts customers can choose from and the expiry period. You can go live without touching any of them.
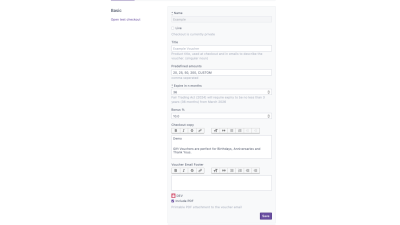
Change them whenever you like, before or after you go live. See Voucher Settings for every field on this screen.
1. Connect payments
Required. You cannot sell a voucher until Stripe is connected.
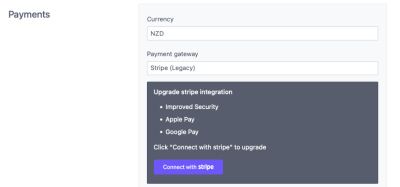
- Go to
Payments. - Select your Currency.
- Click
Connect with Stripeand follow the prompts to connect an existing Stripe account, or create a new one. - Click
Save.
See Payments for currency, surcharge and gateway options.
2. Connect your POS (optional)
Connection details
Your POS provider supplies the details for this step. If you need help getting set up, contact us.
Connecting your POS lets staff validate and redeem vouchers at the counter instead of handling them by hand.
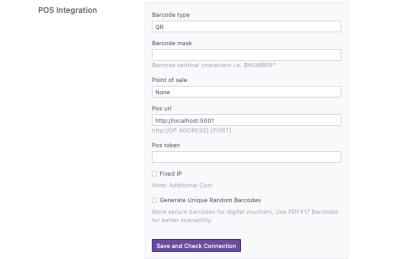
- Go to the
POSsection. - Enter the connection details supplied by your POS provider.
- Set the barcode options and voucher account ranges your POS requires.
- Click
Save, then confirm the connection with your POS provider.
Skip this for now if you do not have the details yet. You can connect a POS at any time without taking your storefront offline, and vouchers work fine without one.
For setup on a specific system, see OneTap or Kounta. See Point of Sale for settings common to any POS.
3. Add your legal details
Vouchers are sold under your terms, so add them before you take any money.
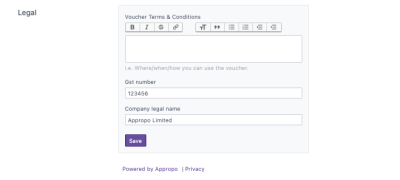
- Go to
Legal. - Add your Voucher Terms & Conditions, covering how vouchers are redeemed, when they expire and any restrictions.
- Enter your GST (NZ) or ABN (AU) Number and Company Legal Name.
- Click
Save.
See Legal for what your terms should cover.
4. Add a support email
Customers need a way to reach you about a voucher they have bought.
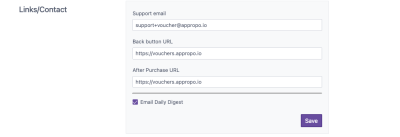
Enter a Support Email, then click Save. Back Button URL and After Purchase URL are optional and can be added later.
5. Test, then go live
- Go to the
Basicsection and selectOpen test checkout. - Buy a voucher yourself, rather than just looking at the page. Check the amount, the currency, the confirmation email and the voucher itself.
- Check your support email, terms and business details are right.
- If you connected a POS, redeem that test voucher at the counter to confirm the connection works.
- Open the checkout on a phone. Most voucher purchases are made on one, often as a last-minute gift.
- When you are happy, switch
Liveon.
Your voucher storefront is now available to customers.
Once you are live
Track sales and manage vouchers from the Dashboard.
Then make the storefront yours:
- Voucher Settings — change the default name, amounts and expiry, and add a bonus percentage.
- Branding — add your logo, voucher image and colours.
- Gift Experiences — sell fixed-price packages, not just dollar values.
- Physical Gift Cards — offer pickup or delivery of printed cards.
- Bulk Create Vouchers — issue vouchers in batches for corporate orders or campaigns.